NEWS CENTER
Millimeter-wave three-dimensional scanner - Installation case at a steel mill site
Huachuang measurement and control Huachuang measurement and Control Technology Co., Ltd 2025-12-22 10:34
1. General Requirements
Installation bidding requirements: The millimeter-wave three-dimensional scanner for this large-scale steel plant is mainly used for dynamic material level monitoring, presenting three-dimensional views inside the silo, and inventory checking. The millimeter-wave three-dimensional scanner has scanning capabilities and integrates technologies such as image processing, machine learning, three-dimensional point cloud conversion, and three-dimensional modeling and calculation. It can operate automatically and continuously 24 hours a day, meeting the requirements for silo use, quickly measuring and obtaining the three-dimensional information of the object to be measured in real time. Combined with the upper computer software, a three-dimensional model is constructed and a visual three-dimensional image is presented. Users can intuitively observe the distribution form of the object to be measured and obtain information such as material level, coordinates, etc. and thereby calculate and obtain values such as quality, volume, maximum material level, minimum material level, and average material level. This enables material monitoring to reach a new level, provides guidance for related processes, realizes the measurement of the object to be measured and its dynamic real-time management, realizes the automatic inventory of the object to be measured, and realizes the visualization of storage data.
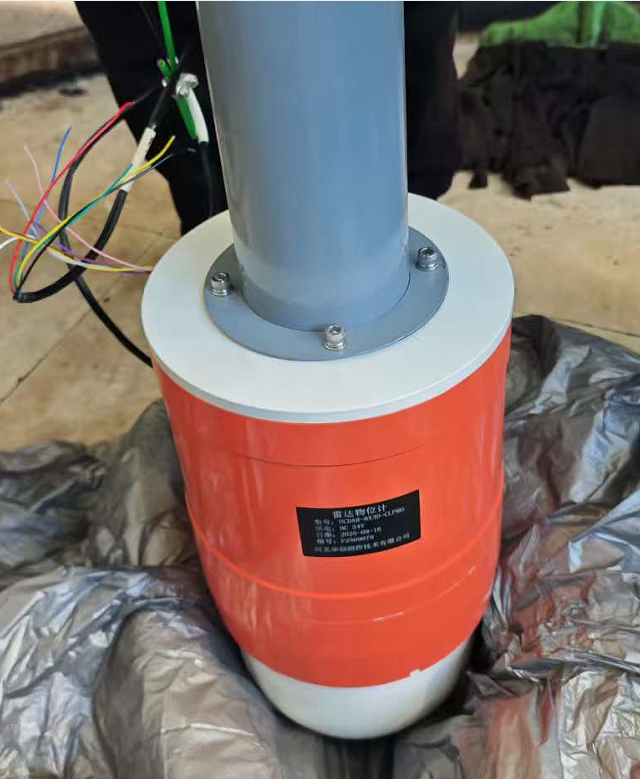
Figure 1. Millimeter-wave three-dimensional scanner
II. Requirements for Structural Form
The interior of the millimeter-wave three-dimensional scanner is equipped with a horizontal rotation and vertical oscillation mechanism. The angle range of horizontal rotation is from 0 to 360 degrees, and the angle range of pitch oscillation is from -90 degrees to 90 degrees. During the measurement process, the horizontal rotation mechanism and the pitch oscillation mechanism drive the internal single radar sensor to conduct multi-dimensional and multi-angle measurements. Thus, measurement signals are emitted from multiple angles/directions, and when these measurement signals encounter the surface of the object to be measured, they will be reflected to form various echo signals, which are then received by the radar sensor. This enables the perception of the surface morphology of the object to be measured. The time and angle/direction of each echo signal reception are processed, sampled, analyzed, converted, and segmented through a proprietary software program. This allows the formation of three-dimensional coordinate information of the surface of the object to be measured.
The wave-transparent outer cover of the millimeter-wave three-dimensional scanner is in an arc shape, matching the arc degree at which the single-point radar sensor operates, thereby reducing interference signals.
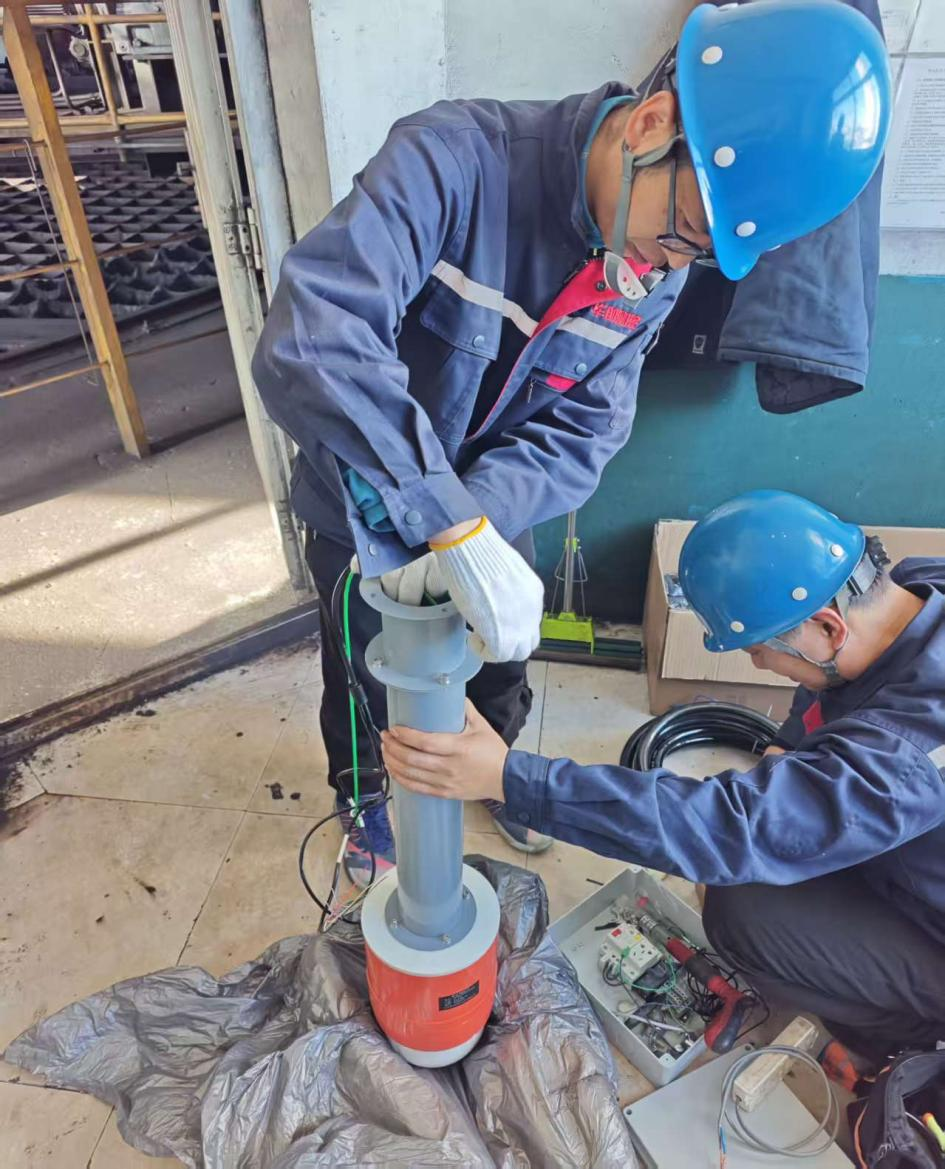
Figure 2. Scanning probe of the on-site unpacking and assembly of the scanner
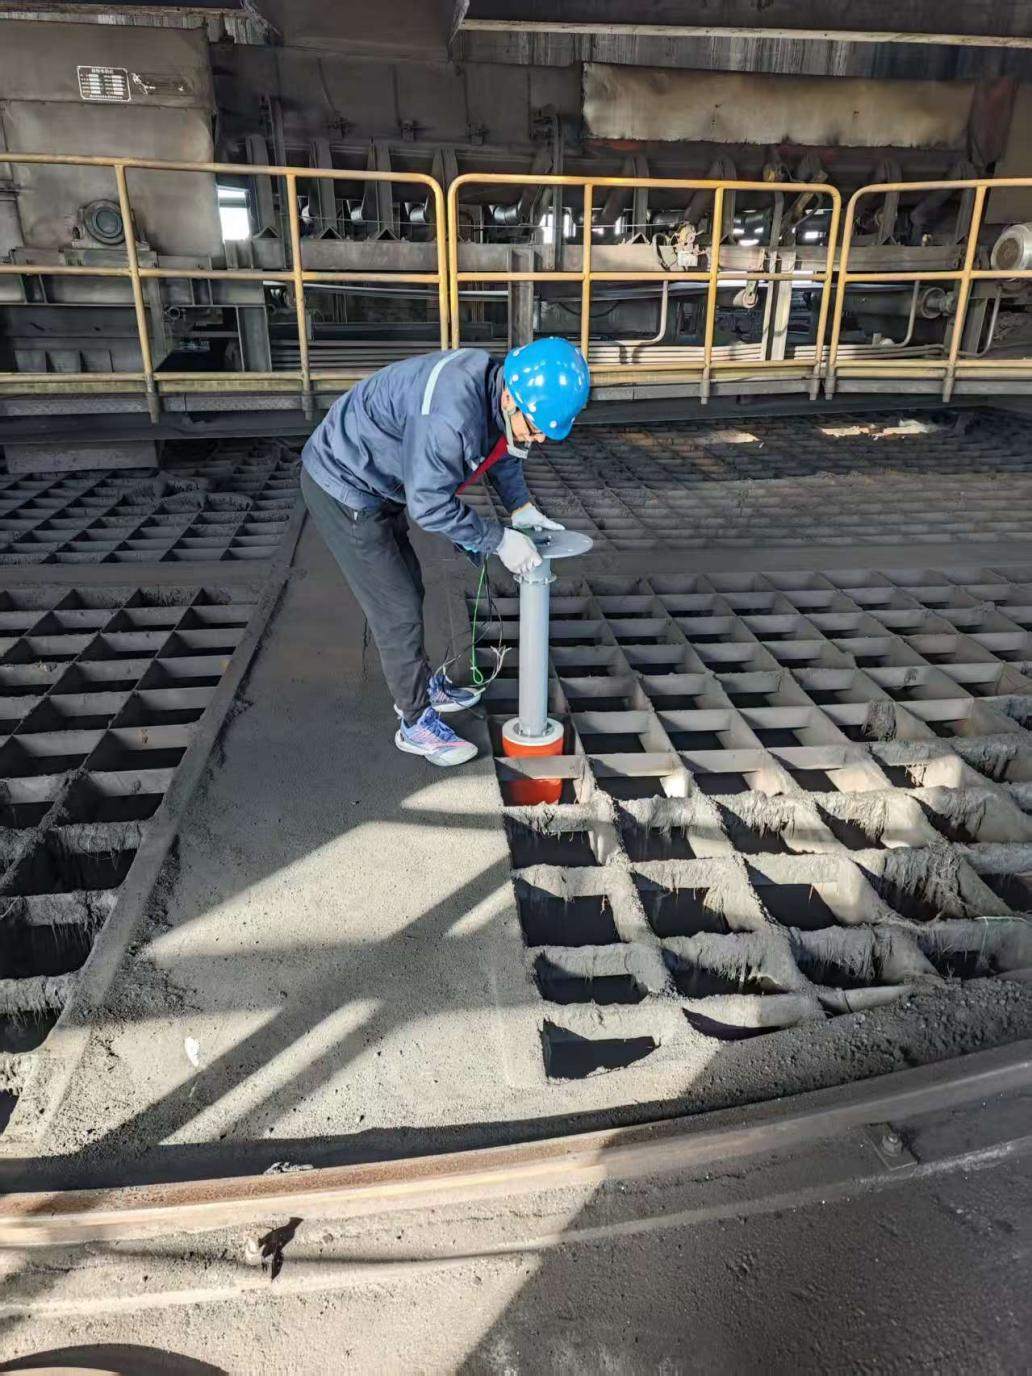
Figure 3. Actual installation of the storage bin
III. Product/Software Functions
(1) Utilizing ultra-high frequency electromagnetic waves, it is not affected by dust, steam, rain, snow or fog, and can perform stable measurements.
(2) It can perform 180° pitch rotation and 360° horizontal scanning with no blind spots. The number of measurement points is no less than 20,000. The angle resolution is high, ensuring high-precision detection. Additionally, the scanning path can be programmed to improve the refresh rate.
(3) Real-time self-check and self-diagnosis function: attitude angle inspection, communication status monitoring, voltage monitoring, etc.
(4) Three-dimensional imaging visualization: On the software interface of the main unit, display the three-dimensional image while presenting at least the highest material level, the lowest material level, the average material level, volume, and mass parameters.
(5) Output three-dimensional coordinate values to achieve process automation: Through the real-time and accurate generation of three-dimensional visual images, real-time provision of the mapping model and spatial coordinates is achieved.
(6) Historical data recording function: The function for storing, monitoring and querying historical data. It can store and record the three-dimensional images of the material form distribution over the past several times, as well as related parameters such as material level volume and mass, so as to understand the trend of material surface form changes and record the historical data of material information, facilitating monitoring and querying.
(7) The software system is personalized, flexible and highly compatible: The page layout is user-friendly, and it can be customized to achieve data connection and integration with related modules.
(8) Different container shapes and sizes can be configured according to the actual situation on site for modeling.
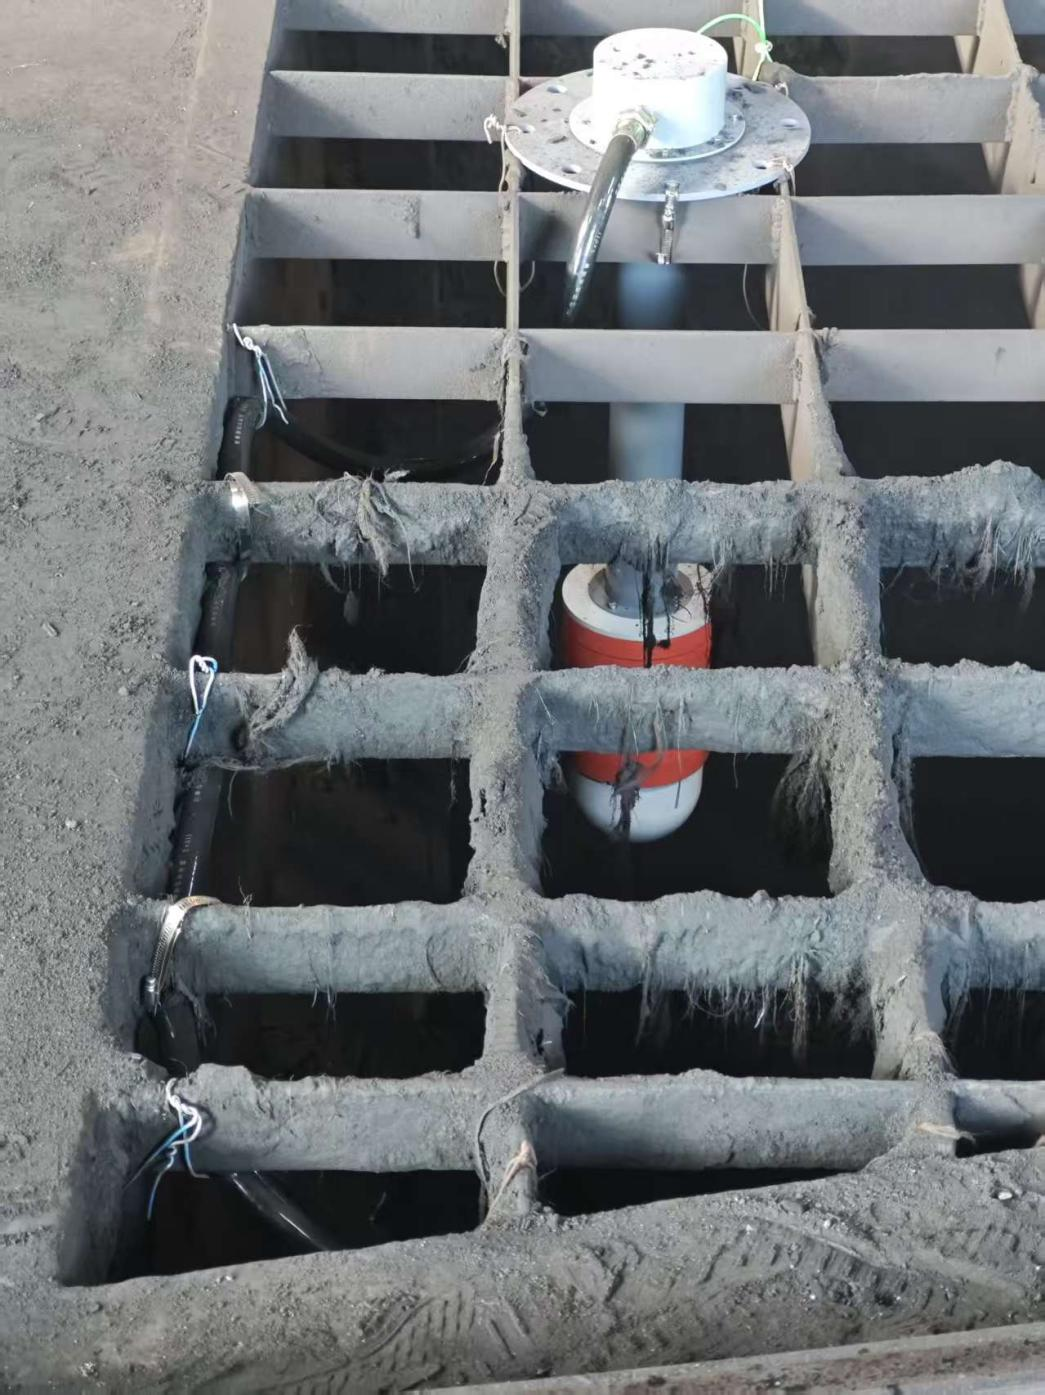
Figure 4. The actual installation view after completion
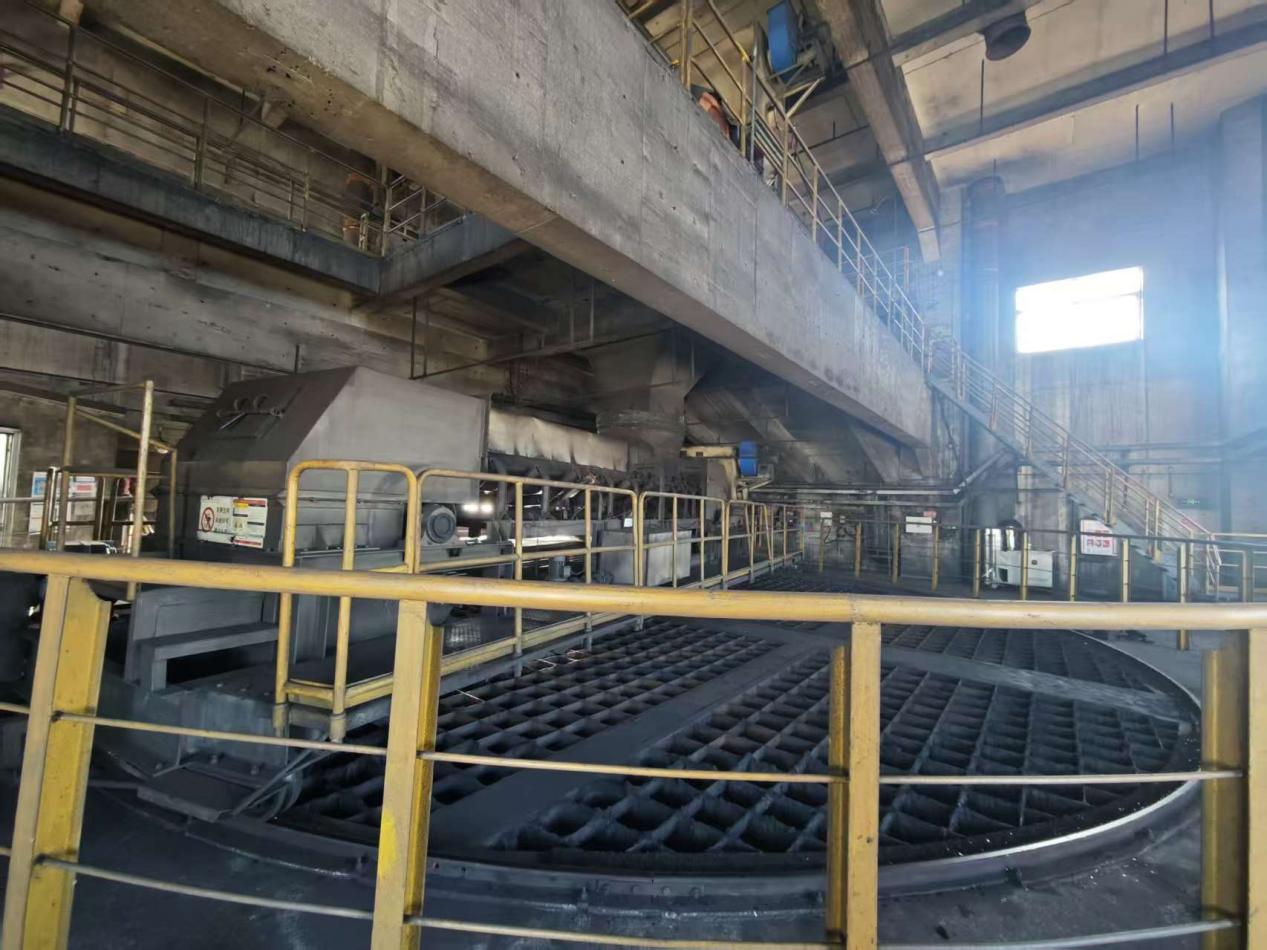
Figure 5. Overall view of the material storage bin's top material distribution
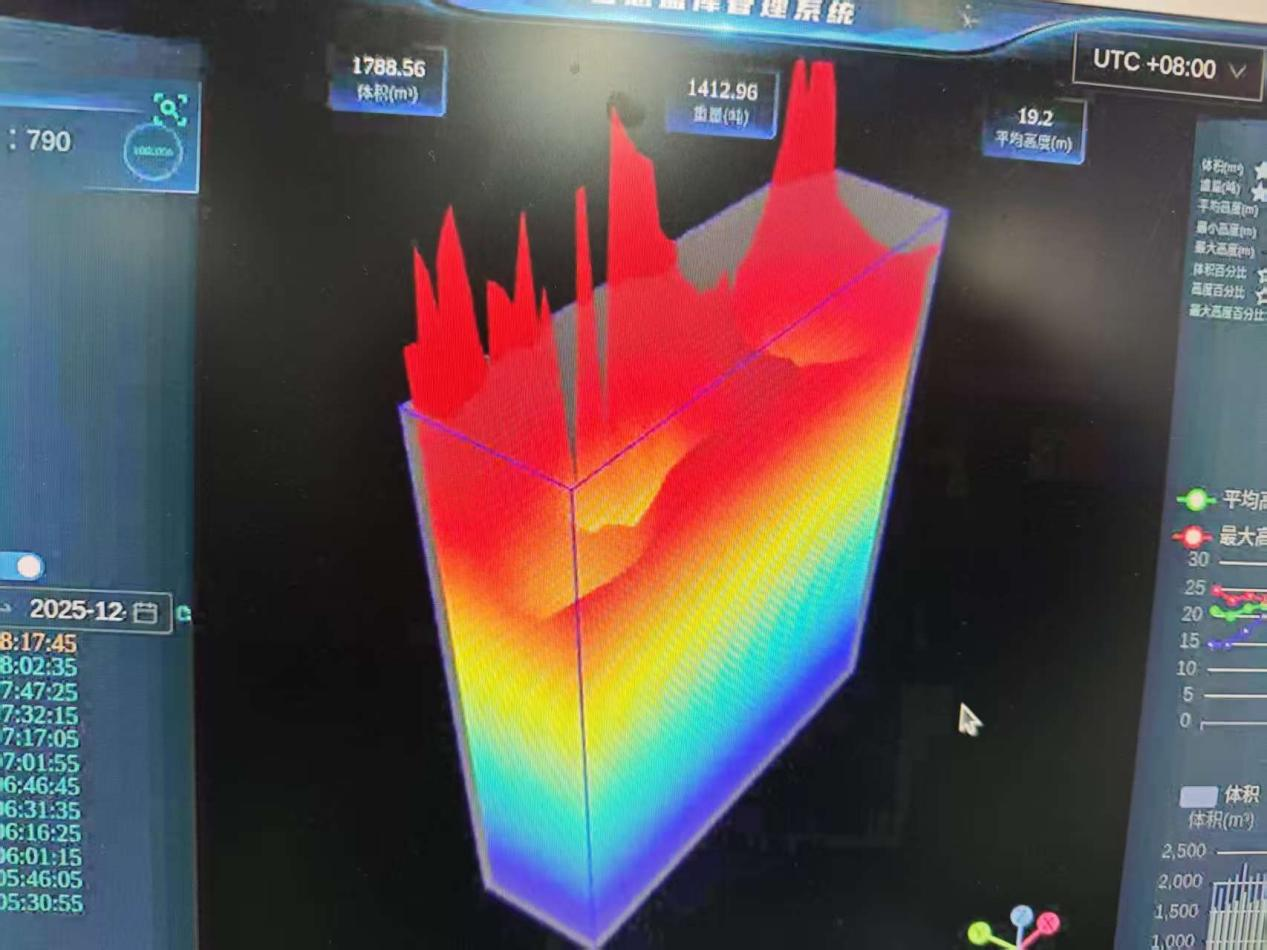
Figure 6. The final effect after modeling

Figure 7. Physical diagram of the on-site storage bin
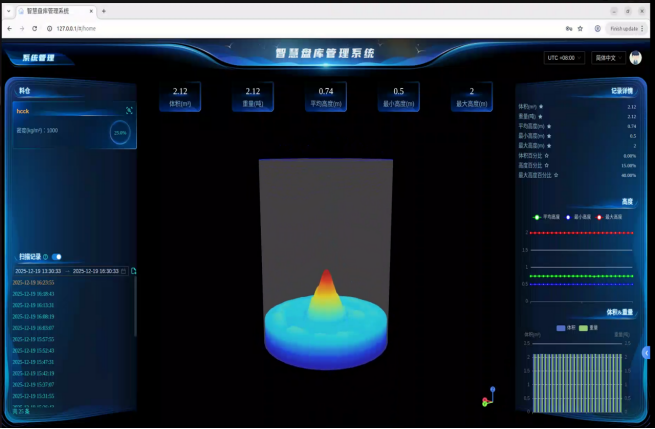
Figure 8: Model Diagram Established Through Company Simulation Testing
If you have any needs, please contact us!
Contact number: 400-851-0898


South of Puhui Street, west of Guangsheng East Road, High tech Zone, Fengnan District, Tangshan City, Hebei Province
Technical support:
Tips
Submitted successfully
Back Index